Showing posts with label Baking. Show all posts

Monday, March 02, 2015

Homemade Bread from the Wheat Berries Up


If you've never had a thick slice of homemade bread, straight from the oven, slathered with butter (grass-fed, of course!), then you are truly missing out.

I started making bread several years ago, when I began to eliminate all processed foods from my diet.  I used organic wheat flour purchased from the grocery store, but later learned to grind wheat berries and make my own flour.  The quality and freshness is well worth the extra step.

I start out by grinding 3 cups of hard white wheat berries with 3 cups of the hard red wheat berries, to make a mixed flour.  I found that if I used all hard white wheat berries, my bread came out too soft, and if I used all hard red wheat berries, my bread came out too dense.  The two together seems to make the bread just right.  Grinding the six cups of berries will give you more than six cups of flour.  For any flour you have left over after you make your bread, put it in a container and keep it in the freezer.  Keeping the extra flour cold will maintain its freshness.


Basic Whole Wheat Bread Recipe:
4 Tablespoons coconut oil or olive oil
4 Tablespoons raw honey
1/2 tsp salt
2 cups plus 4 Tablespoons very warm water
6 + cups organic whole wheat flour
2 Tablespoons yeast

Makes 2 loaves

For a list of supplies and equipment, go here.

*Note* I like to add only half my flour to start out with and then let the mixture sponge before adding the rest.  I do this instead of punching down my dough repeatedly.

In a mixer with a dough hook, mix oil (make sure your coconut oil is a liquid), honey, salt, water, ONLY 3 cups of flour, and yeast.  Mix until well blended.  Your mixture should be kind of runny, almost like a cake batter.  Let this sit with the cover on your mixer or a tea towel across the top of your bowl for 10 minutes.


Next, add in the remaining flour, slowly, while your machine mixes.  You may not need the whole 3 cups, what you're looking for is the sides of your bowl to be clean and a soft dough.


Then turn out your dough onto a floured surface, and divide into two loaves.  You can put your loaves into oiled pans, or line your pans with parchment paper.  I had forgotten the parchment paper when I took this picture, but the later picture shows how I typically line my pans.


Preheat your oven to 350 degrees.  Cover your loaves with a tea towel and let rise in a warm place until double in size.  It should take about 30 to 40 minutes.  In the summer, my bread rises quickly, in the winter it takes a little longer.  I place my loaves on top of the stove which keeps slightly warm as the oven heats up.


Parchment lined pans, and fully risen bread loaves. Carefully place the pans in the center of your oven and let bake for approximately 25 minutes.  Your bread should be golden brown on top and sound hollow if you thump it.  Just don't thump too hard.  ;)


Let the bread cool for about 5 minutes before removing from the pan, the paper will slide right out, and peel right off of your loaves.  I then let my loaves fully cool on a cooling rack.  That is if there is any left to cool.

As difficult as it is to sit and watch your bread cool off while holding a knife and grass-fed butter in your hands.......be patient, if you cut it too soon, the bread will squish, tear up, and fall apart.  I promise, it's well worth the wait!


Wednesday, February 25, 2015

Homemade Bread Basic Supplies


Because my bread making post will be lengthy and picture heavy, I decided to first give you a list of ingredients and supplies I use.  These are for my basic whole wheat bread recipe, which I'll be sharing in the next day or two.

I buy my wheat berries from Azure Standard.  I know you can find them various places online, and if you don't want to grind your wheat, azure standard also sells flour.  You can also find unbleached organic flour in some stores or whole foods markets.  I mix my wheat berries, half hard red wheat and half hard white wheat.  I get a fairly good hearty wheat flour, but still is soft and rises well.

The mill I use is the Nutrimill Classic Grain Mill.  There are several on the market, from hand cranked mills to fancy electric ones.  I kind of found a middle of the road mill and haven't regretted the decision.  It grinds wheat berries, corn, beans, and various other grains.

I absolutely LOVE my Bosch Universal mixer, which I bought 8 years ago.  Mine has the blender attachment, and you can buy many other attachments to go with it.  We use it for everything......... bread, cookies, cakes, smoothies, etc.   It mixes evenly, and I like that it has an open top with the mixing tools inside the bowl, rather than having to deal with the motor and tools being over the top of the bowl.  It just makes it easier to work with.


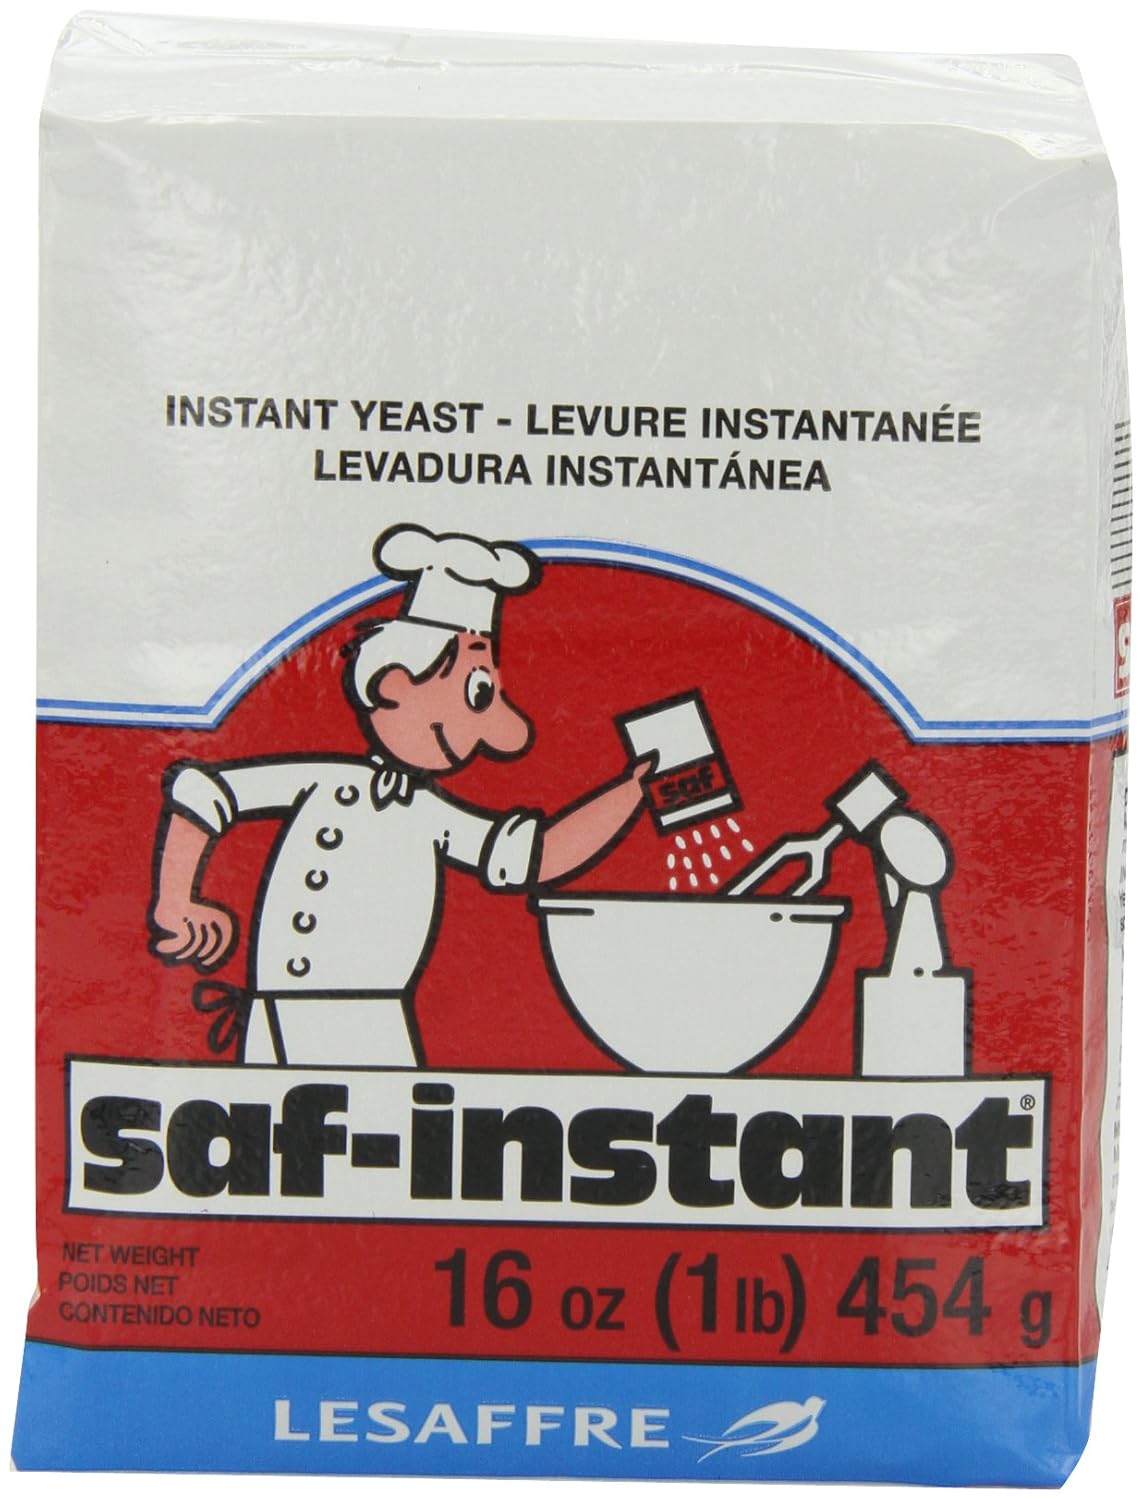
SAF Yeast is the best yeast I have ever used.  My breads rise beautifully every time.  The packages come vacuum sealed, so after I open them, I store them in my refrigerator.

I prefer coconut oil or olive oil for bread.  Usually I use coconut oil for my baking, but if it's winter, when my coconut oil is a solid, I use olive oil unless I have the time to melt the other.

I am blessed to have a local raw honey supplier about 10 miles from my house!  I don't use any other type of sugar in my bread, but you may prefer an organic unbleached sugar.

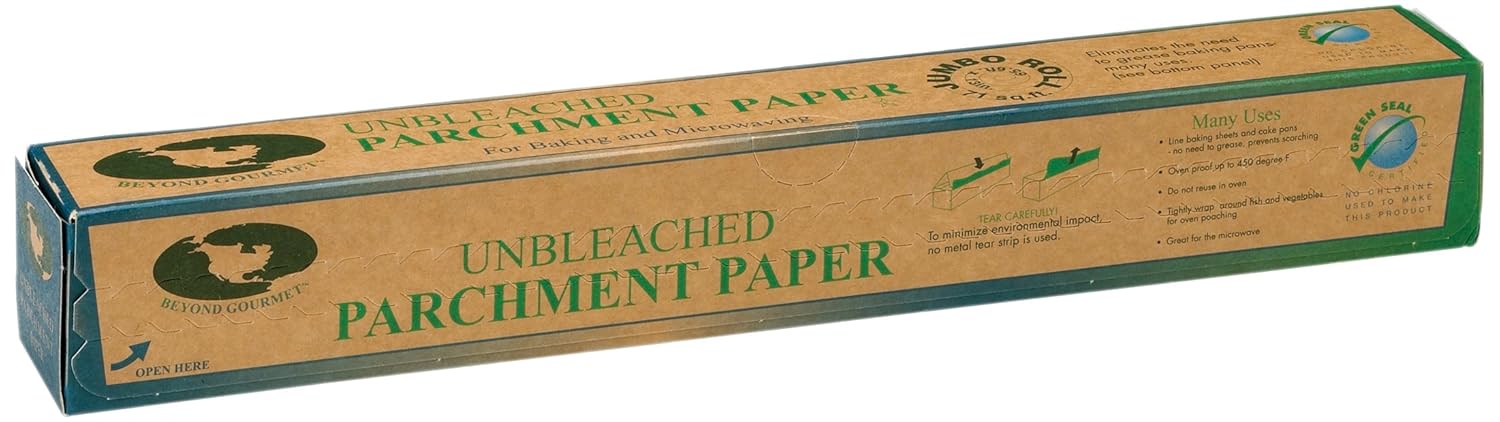
I line my bread pans with Parchment Paper.  It helps my bread cook more evenly and makes cleaning up simple!  The bread doesn't stick to the paper, and when you pull the paper out of the pan, it's clean!  Doesn't get any easier than that.


I have used several types of bread pans, but my favorite is just a simple stainless steel pan. 

If you're just getting started in bread making or using whole organic flour, don't feel like you have to start big. Start small, like I did.  I went to the store and bought an organic wheat flour, and used what I had to try my hand at bread making.  Over time, I expanded to where I am now.  Don't get overwhelmed, and take your time and practice!

Wednesday, February 18, 2015

Why I'm Not Gluten Free Anymore


For roughly eight years, I was a wheat grinding, bread making, whole grain berry eating, machine.  When I was first diagnosed with thyroid disease, I had a difficult time adjusting to medications and eventually turned to real and organic foods.  Which included whole wheat berries and homemade bread.  The results were astounding to my health.

Fast forward a few years, to when I had my second set of twins, my mother was sick, my in-laws had moved in with us, and I had 4 children 3 and under.  I admit, in all of my stress, I was in survival mode, which introduced store bought breads, snacks, and and many other no-no's to my diet.  I started back on the downward spiral to poor health, weight gain, migraine headaches, fatigue, and frequent illness.  I knew better, I just couldn't get back on track.

Once I decided to make the necessary changes to get back to good health,......my grinder broke.  So, for a year, I tried my best to eat healthy.  And no matter what I did to change, I still felt horrible.  Which then led me to believe I had a gluten intolerance.  Because that's the popular thing to have right now, right?  More expensive specialty food.  Ezekiel bread, sprouted grains, gluten free everything.  It was getting pricey and annoying.

Then I had a light bulb moment.  For the many years I was grinding my wheat and making bread, I never felt bad when I ate wheat products.  EVER.  Yeah, I know, I'm a little slow sometimes.  So, I saved up and bought a new grinder, started over again, and I feel great.


Did you know that store bought bread is depleted of all it's natural vitamins?  The berries are ground and bleached and stripped of all vital nutritional value until it's left with nothing?  Vitamins and nutrients that are important to our everyday health.  Especially for women.  And then, back in the 40s, the government decided that synthetic vitamins needed be placed back in the flour after destroying it's original design.  So now we have "enriched" bread.  Meaning nothing really.

All of which makes it difficult for our bodies to process.  Mine especially.  So, I really didn't have an allergy to gluten.  Just an allergy to junk or processed foods.

I do believe that there are people who have a true allergy to gluten, but a gluten free lifestyle was not the best option for me.  My body needs the whole grains and all of the amazing health benefits they provide.

Next time, I'll share my basic bread recipe and how I grind my grains!

Wednesday, November 14, 2012

Five Days of Homemade Christmas Gifts: Cookies and Cocoa

What is more fun than receiving a container filled with home baked goodies?  I have a good friend who always makes the BEST fudge for Christmas.  That has to be one of my favorite friendship gifts!


For my children, their specialty is sugar cookies, cut out and decorated with sprinkles, icing, and colored sugar.  It has been a tradition as far back as I can remember.  The children package the cookies in a Christmas container, or gift bag, and pass them out to neighbors and friends, along with a Christmas card.  Inside the card, they add a hand-written verse, Luke 2:11 "For unto you is born this day in the city of David a Savior, which is Christ the Lord.", and a message from our family.


Another tasty friendship gift is a jar of homemade hot cocoa mix.  I mix up a big batch for our family and then another to be given away.   I fill a pint jar with the mix, tie a ribbon around it and include a tag with instructions for a nice hot cup of cocoa.


I found this recipe off the internet a couple of years ago, but I cannot give credit where credit is due, since I haven't been able to find the site again.

Ingredients:
3 cups cocoa
4 1/2 cups sugar
6 1/2 cups powdered milk
1/3 tsp. salt

Mix all of the ingredients together in a large bowl.

To serve:  At 2 Tablespoons of cocoa mix to a cup of hot water.

Who doesn't love hot cocoa?

Friday, September 23, 2011

Dry Mixes

You know how much I love Mason Jars....

Since canning season is over for me right now, I seriously needed to fill my half gallon jars.  To see them sit empty, with no hope of canning until next summer, well, it just breaks my heart.  Even Mason jars need to feel useful.

Soooooo, I got the idea to fill them with some of our favorite recipes in a "dry mix" form.  Pancakes, fruit cobbler, corn bread and biscuits!  (I'm avoiding the cookies and cakes)  All we have to do is measure out the dry mix, add the wet ingredients, and we're good to go.  I'm thinking this will come in handy for those last minute guests and surprise visits!  Oh yeah, and it will make the idea of pancakes every morning, so much more tempting...


Sunday, January 03, 2010

Baking Christmas Cookies!!!

This is a little late....

The week of Christmas we had our annual Cookie Baking Day.  I'm seriously not fitting in any of my clothes...

Bailey's cute Mini Pineapple Upside Down Cakes with Reindeer faces.


The little chef people...


I'm not really sure where this came from, I'm just thankful it didn't end up in any cookies...


.

For my Psych Fan Friends...


Booooooooring.......Choc. Chip Cookies


Kelsey's palate is satisfied...


Kendall has been tamed, we're still working on the other one (see above photo)...


Mint Swirled Cookies...


Sugar Cookies!


Bailey's trying to frame Connor?  Not really sure...


Awwww...


Con-man...


Katie-bug...


Five flour covered children later...our work here is done!


Related Posts Plugin for WordPress, Blogger...